How to Setup iOS Shortcuts Automation for SMS Forwarding
First, Download Forward SMS
Download Forward SMS on App Store
Setup Shortcut Automation for Forward SMS
You no longer build the automation by hand. Instead you install one ready-made Forward SMS shortcut and simply pick it in a Message automation. The shortcut already forwards the message, the sender's number, and the sender's name for you — there's nothing to wire up.
Step 1: Install the Forward SMS Shortcut
- Tap the button below to install the ready-made shortcut
-
Tap Add Shortcut on the screen that opens
-
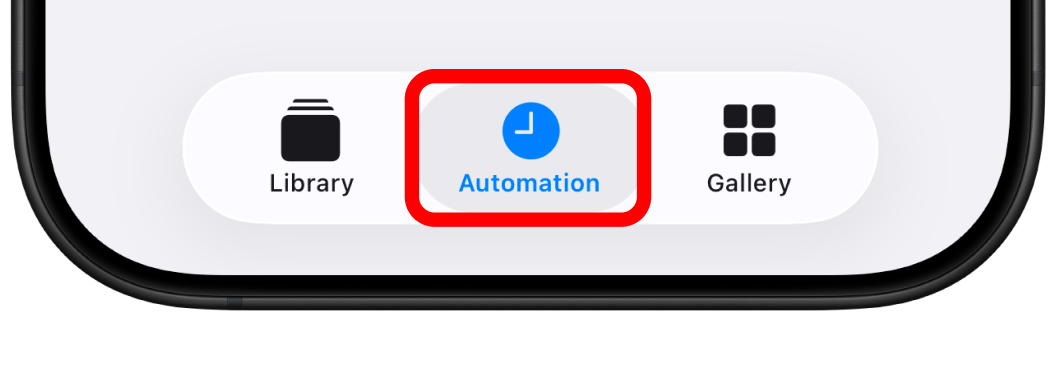
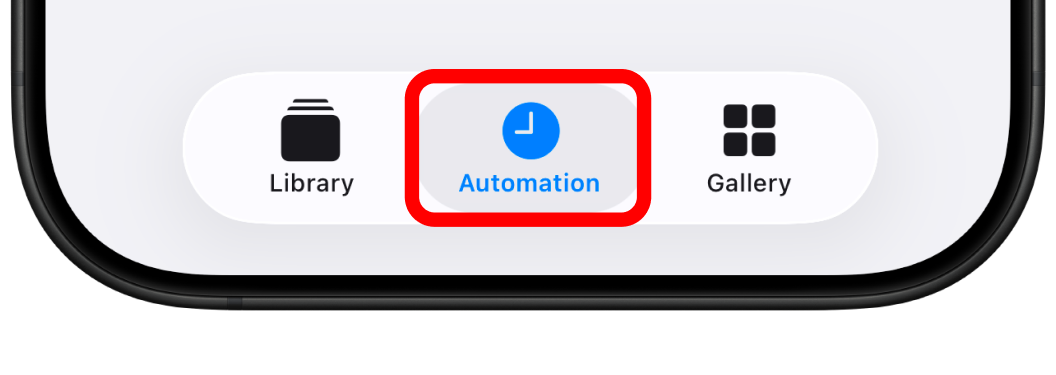
Tap the Automation tab


Step 2: Create New Automation
-
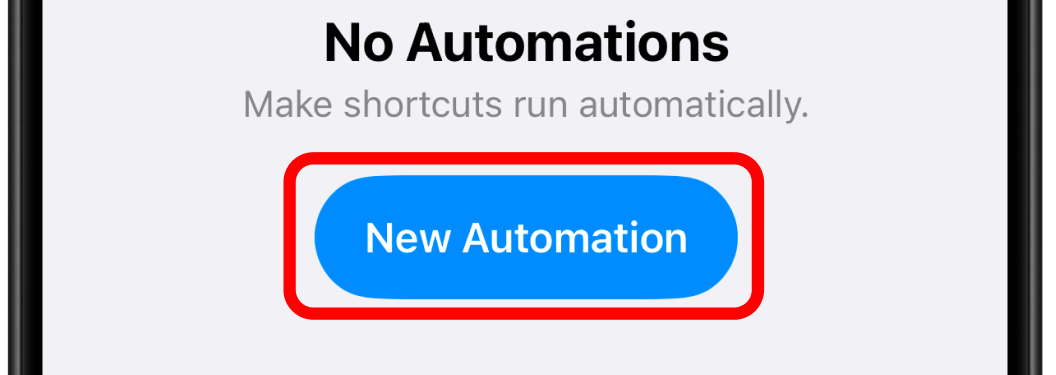
Tap New Automation or + button
-
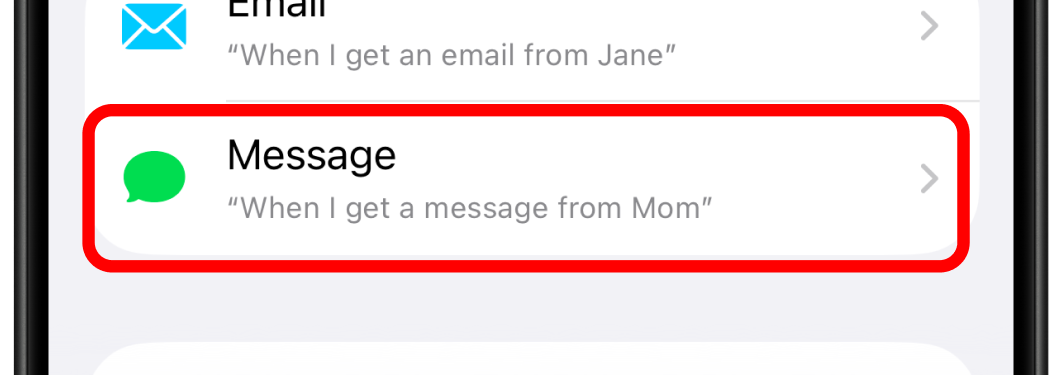
Select Message as trigger


Step 3: Configure Message Filter
-
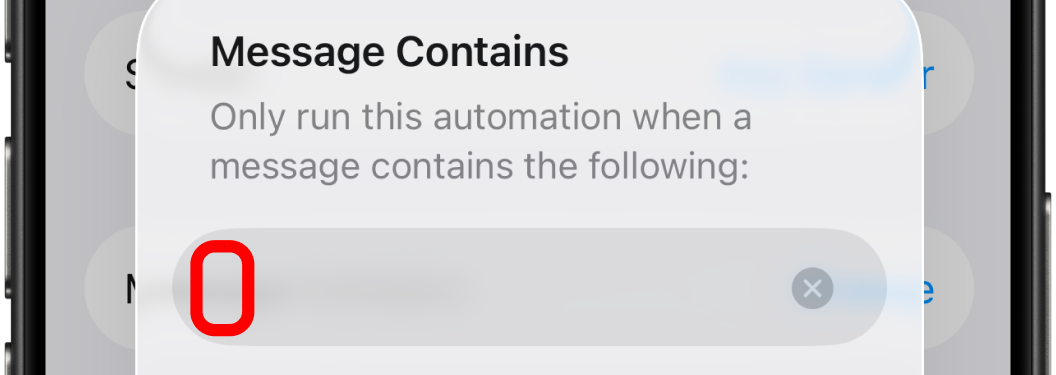
Set Message Contains → single space (tap spacebar once) to forward all texts
-
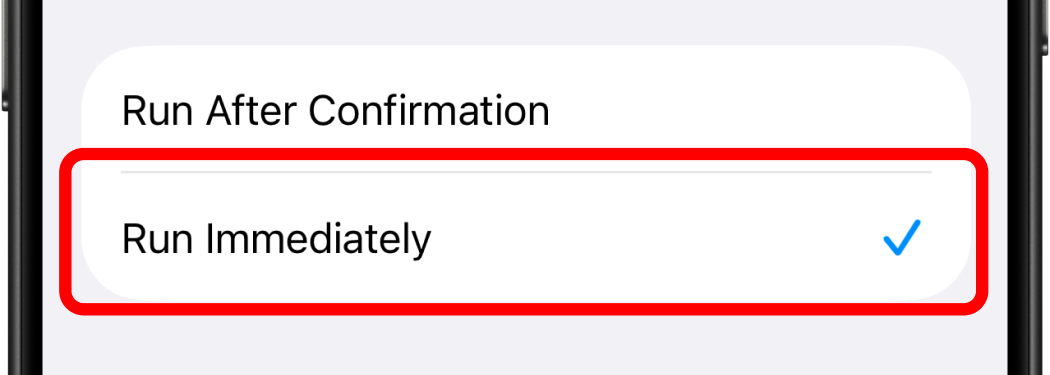
Enable Run Immediately to skip confirmation for each forward


Step 4: Select the Forward SMS Shortcut
-
Tap Next, then select the Forward SMS shortcut from the list
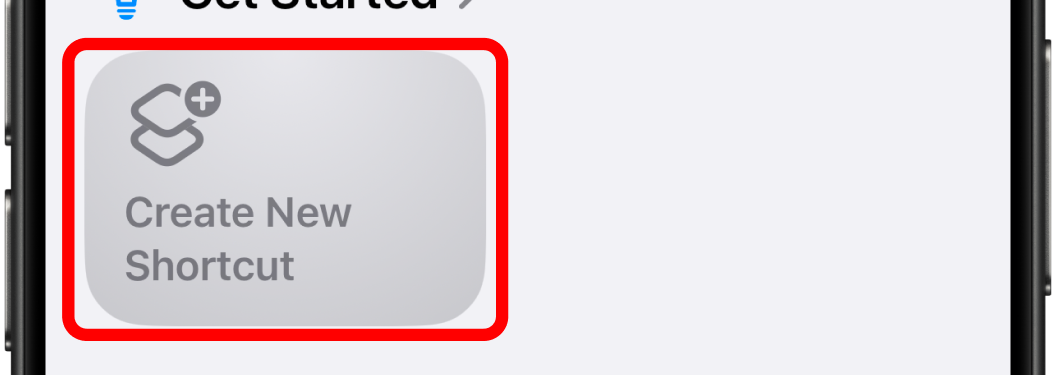
- Your automation is ready — the last thing left is to test it.

Step 5: Test It & Grant Permissions
- Send yourself a test text message. Make sure it contains a space (for example, Test sms) so the automation triggers.
- The first time it runs, iOS asks for permission. Tap Always Allow every time. If you tap Allow Once, iOS keeps asking on every message; Don't Allow stops forwarding from working.
- Once the forwarded message reaches your destination, you're all set.
Step 6: Add Forwarding Rules
- In the Forward SMS app, add rules for where you want messages to go — Email, SMS, WhatsApp, Telegram, Slack, Discord, MS Teams, or a custom endpoint.
- For SMS and WhatsApp, enter the recipient's phone number right in the rule (the Recipient's Phone Number field). The shortcut sends to them automatically — there's no need to edit it.
🎉
Setup Complete!
Your SMS forwarding automation is now ready to use.
Additional Setup Guides
Set up where you'd like your messages to be forwarded: